re-maker gift tag
I like to be able to make changes to my marketing materials in a minutes notice. So, I've come up with a quick and affordable way to make this happen!
The last time we visited the American Folk Art Museum in NY a quick stop to the gift shop resulted in lots of fab gifts and souveniers! They included a neat little gift card for giving. It was such a great idea I created one of my own.
To get started, simply decide what size your finished card will be and what images and text you'll include. Create a template with multiple copies of your gift card.
full sheets of gift cards
Once you've made the template you can print them on whatever type of paper you like. I print mine in color with an HP Photosmart on Staples Matte Photo Supreme paper.
gifts tags are cut from full sheets
After printing, I cut the gift tags into strips (see top row of image). Once this is done I apply a strip of ATG tape across the top of each strip. This gives your gift tags a self-adhesive strip. I then cut the strips into individual tags.
To make stickers, simply follow the same steps.
Design and print full sheets.
1x1" logo stickers
To make stickers you'll have to apply tape to the entire back of the sheet. It's a little OCD, but well worth the effort!
apply atg tape to the back of each sheet
Once the tape is applied you can cut your stickers to size.
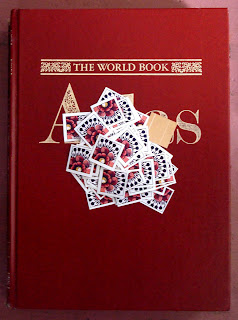
I like to have 1x1 stickers available to use instead of tape to seal wrapped items. I also include stickers in gift orders so my customers can use them to seal their packages.
logo stickers ready to go!
I use Corel Draw, but you can certainly adapt these ideas to whatever program you like to use. If you'd prefer to forgo all of the cutting and taping there's an abundance of Avery labels & templates from which to choose!
Images & Text © re-maker
All rights reserved.


No comments:
Post a Comment